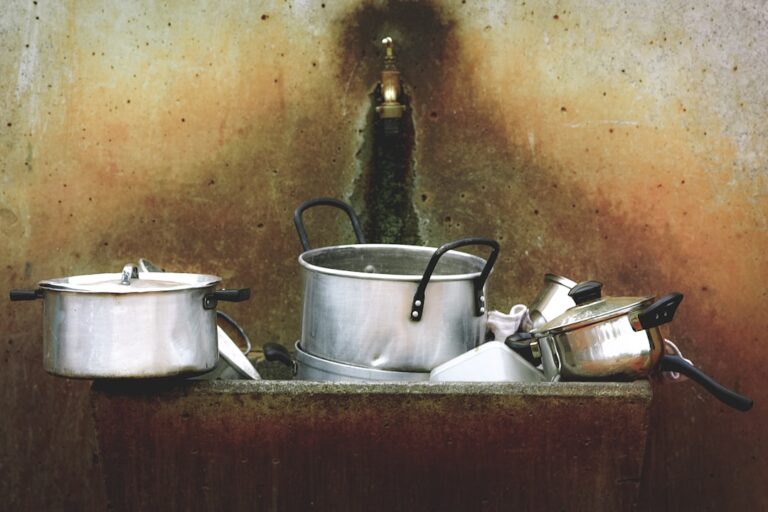
Stop the Drip: Fixing a Leaky Faucet

A leaky faucet is a common household issue that can waste water and increase utility bills. To address this problem, the first step is to identify the leak’s source. Common causes include worn washers, O-rings, or seals, corrosion, mineral build-up, and improper installation.
To locate the leak, turn off the water supply and disassemble the faucet to inspect its internal components. Look for signs of wear, corrosion, or mineral deposits on each part. Faulty cartridges or valves are another frequent source of leaks in faucets.
These components can deteriorate over time, resulting in drips and leaks. For cartridge or ball valve faucets, it is essential to examine these parts for damage or wear. Leaks may also occur due to loose or damaged plumbing connections.
Inspect all connections and fittings to ensure they are secure and in good condition. Accurately identifying the leak’s source is crucial for determining the most effective repair method and preventing future leaks. This process may involve replacing specific components, cleaning mineral deposits, or tightening connections.
In some cases, replacing the entire faucet may be necessary if the damage is extensive or the faucet is outdated.
Key Takeaways
- The source of the leaky faucet can be identified by checking the handle, spout, and base for any signs of water.
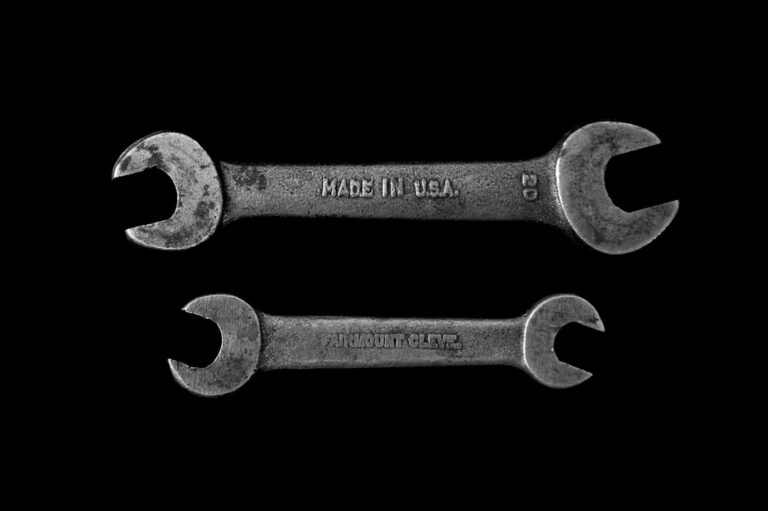
- Tools and materials needed for the repair include an adjustable wrench, screwdriver, replacement washers or O-rings, and plumber’s tape.
- A step-by-step guide to fixing a leaky faucet involves shutting off the water supply, disassembling the faucet, replacing the faulty parts, and reassembling the faucet.
- Common mistakes to avoid when repairing a leaky faucet include overtightening the parts, using the wrong size washers, and not properly cleaning the faucet components.
- After the repair, it’s important to test the faucet by turning on the water supply and checking for any leaks or drips.
- To prevent future leaks, regularly clean and maintain the faucet, check for any signs of wear or damage, and replace any worn out parts promptly.
- If the leaky faucet persists or if the repair seems too complex, it’s best to call a professional plumber for assistance.
Tools and materials needed for the repair
Gathering the Necessary Tools and Materials for the Repair
Basic Tools and Materials
Once you have identified the source of the leak, it’s time to gather the necessary tools and materials for the repair. The specific tools and materials you’ll need will depend on the type of faucet you have and the extent of the repair needed. However, there are some basic tools and materials that are commonly needed for repairing a leaky faucet. These may include an adjustable wrench, screwdrivers, pliers, a utility knife, replacement washers, O-rings, seals, cartridges, valves, and plumber’s tape.
Specific Parts for Your Faucet Model
In addition to these basic tools and materials, you may also need specific parts or components for your particular faucet model. It’s important to research your faucet model and determine the specific parts needed for the repair.
Where to Find Replacement Parts
You can often find replacement parts at your local hardware store or home improvement center. If you’re unsure about which parts to purchase, consider taking photos of your faucet and bringing them with you to the store for assistance. By gathering all the necessary tools and materials before starting the repair, you can ensure that you have everything you need to complete the job efficiently and effectively.
Step-by-step guide to fixing a leaky faucet

Now that you have identified the source of the leak and gathered the necessary tools and materials, it’s time to start fixing your leaky faucet. Here is a step-by-step guide to help you through the repair process: 1. Turn off the water supply: Before beginning any work on your faucet, be sure to turn off the water supply to prevent any accidents or further leaks.
2. Disassemble the faucet: Use your adjustable wrench, screwdrivers, or pliers to carefully disassemble the faucet and access the internal components. 3.
Inspect and clean the components: Once the faucet is disassembled, inspect each component for signs of wear, corrosion, or mineral build-up. Clean any dirty or corroded parts with a mild cleaning solution and a soft brush. 4.
Replace worn out parts: If you have identified any worn out washers, O-rings, seals, cartridges, or valves, carefully remove them and replace them with new ones. Be sure to use the correct replacement parts for your specific faucet model. 5.
Reassemble the faucet: Once all necessary repairs have been made, carefully reassemble the faucet and tighten all connections securely. 6. Turn on the water supply: After reassembling the faucet, turn on the water supply and check for any leaks or drips.
If everything looks good, your repair is complete!
Common mistakes to avoid when repairing a leaky faucet
| Mistake | Consequence |
|---|---|
| Using the wrong tools | Damage to the faucet or surrounding area |
| Not turning off the water supply | Water damage and potential flooding |
| Over-tightening fittings | Cracked or damaged components |
| Ignoring worn out parts | Continued leaks and potential water wastage |
While fixing a leaky faucet may seem like a simple task, there are several common mistakes that can occur during the repair process. By being aware of these mistakes, you can avoid potential problems and ensure that your repair is successful. Some common mistakes to avoid when repairing a leaky faucet include: 1.
Using incorrect parts: It’s important to use the correct replacement parts for your specific faucet model. Using incorrect parts can lead to further leaks and damage. 2.
Over-tightening connections: Over-tightening connections can cause damage to the faucet and lead to leaks. Be sure to tighten connections securely, but not excessively. 3.
Ignoring other potential issues: While repairing a leaky faucet, it’s important to inspect all components thoroughly for any signs of wear or damage. Ignoring other potential issues can lead to future leaks and repairs. 4.
Not turning off the water supply: Before beginning any work on your faucet, always remember to turn off the water supply to prevent accidents and further leaks. By being mindful of these common mistakes and taking care during the repair process, you can ensure that your leaky faucet is fixed properly and effectively.
Testing the faucet after the repair
After completing the repair on your leaky faucet, it’s important to thoroughly test the faucet to ensure that it is working properly and that there are no more leaks. To test the faucet after the repair, follow these steps: 1. Turn on the water supply: Once you have reassembled the faucet and tightened all connections, turn on the water supply to allow water to flow through the faucet.
2. Check for leaks: Carefully inspect the faucet for any signs of leaks or drips. Pay close attention to all connections and components to ensure that everything is secure and functioning properly.
3. Test hot and cold water: Turn on both hot and cold water to ensure that both sides of the faucet are working correctly without any leaks. 4.
Check water pressure: Test the water pressure from the faucet to ensure that it is consistent and at an appropriate level. By thoroughly testing your faucet after the repair, you can be confident that your repair was successful and that your faucet is no longer leaking.
Preventing future leaks: Maintenance tips for faucets

Keep Your Faucets Clean
Regularly clean your faucets with a mild cleaning solution and a soft brush to remove any dirt, grime, or mineral build-up.
Monitor for Leaks and Drips
Periodically check your faucets for any signs of leaks or drips. Addressing small leaks early can prevent larger issues in the future.
Replace Worn-Out Parts and Address Plumbing Issues
If you notice any worn-out washers, O-rings, seals, cartridges, or valves, be sure to replace them promptly to prevent leaks. Additionally, address any loose or damaged plumbing connections to prevent leaks and further damage. By practicing regular maintenance and addressing any issues promptly, you can prevent future leaks and keep your faucets in good working condition.
When to call a professional plumber
While many leaky faucet repairs can be completed as DIY projects, there are some situations where it may be best to call a professional plumber for assistance. If you encounter any of the following issues during your repair process, consider contacting a professional plumber: 1. Complicated repairs: If you encounter complicated issues or are unsure about how to proceed with a repair, it’s best to seek professional help.
2. Persistent leaks: If you have attempted multiple repairs but continue to experience persistent leaks from your faucet, it may indicate a more serious underlying issue that requires professional attention. 3.
Old or deteriorating faucets: If your faucets are old or deteriorating, it may be best to have them inspected by a professional plumber who can assess their condition and recommend appropriate repairs or replacements. By knowing when to call a professional plumber, you can ensure that your leaky faucet issues are addressed effectively and efficiently by a qualified professional.
If you’re looking for more home improvement tips, check out this article on how to use Alpilean to boost your energy and focus. It’s always helpful to have a few tricks up your sleeve for maintaining and improving your living space.
FAQs
What are the common causes of a leaky faucet?
The common causes of a leaky faucet include worn out washers, O-rings, or seals, corrosion, mineral deposits, and improper installation.
How can I fix a leaky faucet?
To fix a leaky faucet, you can start by turning off the water supply, disassembling the faucet, replacing the worn out parts such as washers, O-rings, or seals, and reassembling the faucet. If the issue persists, you may need to consider replacing the entire faucet.
Do I need any special tools to fix a leaky faucet?
You may need some basic tools such as a wrench, screwdriver, and pliers to fix a leaky faucet. It’s also helpful to have some plumber’s tape and lubricant on hand.
How long does it take to fix a leaky faucet?
The time it takes to fix a leaky faucet depends on the severity of the issue and your level of experience with plumbing repairs. It can take anywhere from 30 minutes to a few hours to fix a leaky faucet.
When should I consider calling a professional to fix a leaky faucet?
If you are not confident in your ability to fix a leaky faucet, or if the issue persists after attempting to repair it, it’s best to call a professional plumber. Additionally, if the faucet is old and in need of replacement, a professional can help with the installation process.